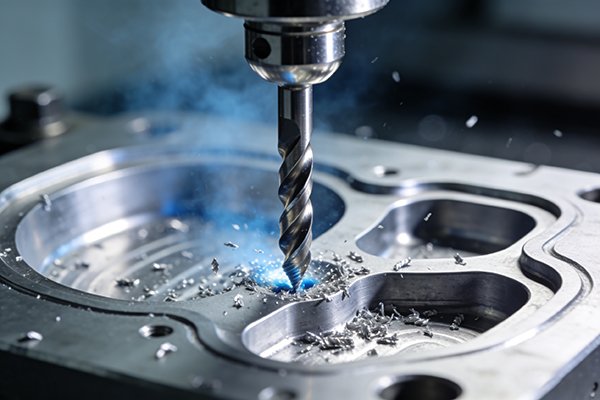
Choosing the wrong milling tool1 can ruin your workpiece and waste hours. You need the right cutter to get the job done correctly, but the options feel endless.
The right milling tool1 depends entirely on your task. For large flat surfaces, use a face mill2. For pockets and vertical walls, use a square shoulder end mill3. For complex 3D shapes, use a ball nose end mill4. And for special features, use a dedicated specialty cutter5.
I've been in the cutting tool business6 for over a decade, and I've seen it all. A simple job can turn into a nightmare if you start with the wrong tool. It’s not just about getting a good finish; it’s about efficiency, tool life7, and keeping your costs down. Let's break down the most common milling jobs8 and I'll show you exactly which tool I reach for every time. This is the practical knowledge we share with our partners to help them succeed.
How Do You Create a Perfectly Flat Surface?
Getting a perfectly flat surface can be a struggle. You might end up with tool marks or an uneven finish, forcing you to do the work all over again.
To create a perfectly flat surface efficiently, you need a face mill2. These large-diameter cutters use multiple inserts to remove material quickly across a wide area. This design is the key to achieving high productivity and a consistent, flat finish on large workpieces.
When your job is to make a large block of metal perfectly flat, speed and efficiency are everything. This is called "facing," and it's usually the first operation on a new part. For this task, my go-to tool is an indexable face mill9l](https://nv-tool.com/how-do-you-choose-the-right-milling-cutter-for-your-operation/)%%%FOOTNOTE_REF_2%%%. These tools have a large steel body and use replaceable carbide inserts. The main advantage is cost. When an insert gets dull, you just turn it to a new edge or replace it in seconds. You don't have to replace the whole tool. This drastically cuts down on machine downtime and long-term costs.
These face mill2s require a machine with plenty of power and rigidity because they take a heavy cut. We supply face mill2s in various diameters, often starting from 50mm and going up. The choice of insert is also important. Square inserts are great for heavy roughing because they are strong, while round inserts can give you a better surface finish. It's a trade-off between strength and finish.
| Tool Type | Best For | Key Advantage |
|---|---|---|
| Indexable Face Mill | Roughing large flat surfaces | Excellent economy, less downtime |
| Large Solid End Mill | Finishing smaller flat areas | Higher precision and better finish |
What's the Best Tool for Pockets, Slots, and Vertical Walls?
Machining internal pockets or straight walls can be tricky. Using the wrong tool can lead to inaccurate corners, poor wall finishes, and a lot of frustration trying to fix it.
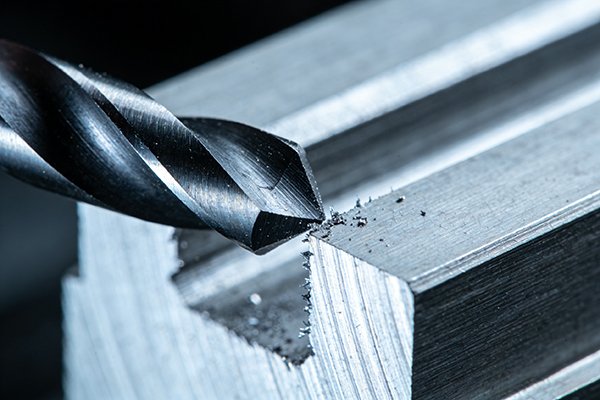
The best and most versatile tool for milling pockets, slots, and vertical walls is a square shoulder end mill3. It's designed to create true 90-degree corners and clean, straight side walls. This makes it the workhorse for a huge range of general milling applications.
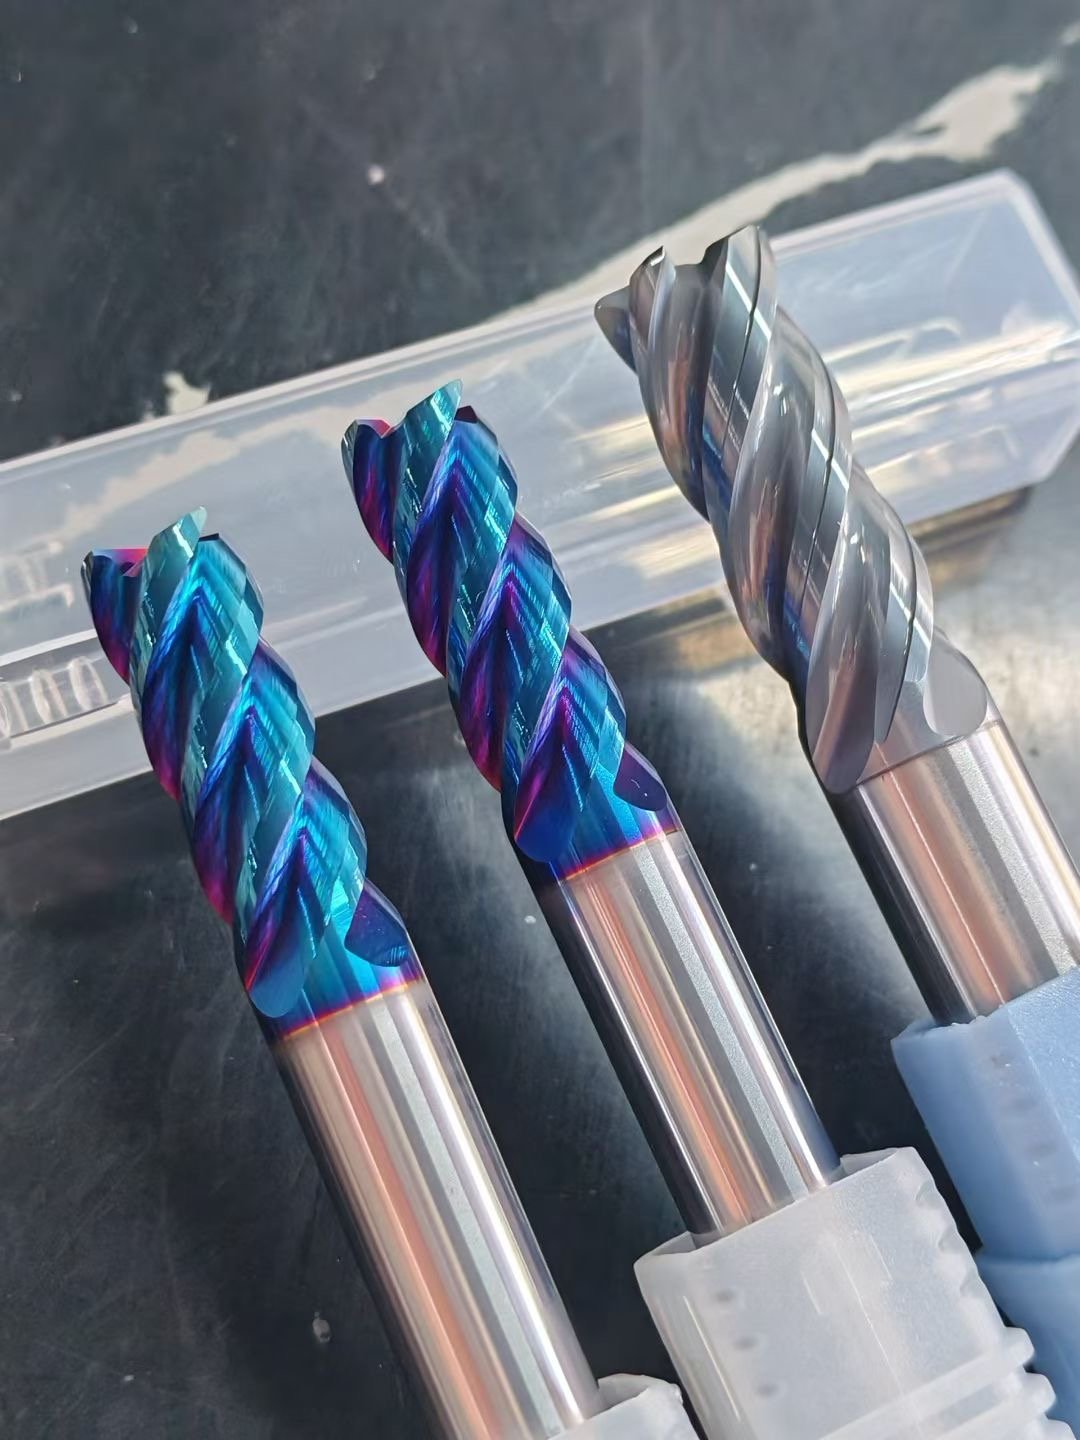
When you need to carve out a feature inside a part, you're doing what we call pocketing or slotting. The end mill is your hero here. Think of it as the most versatile tool in your milling arsenal. The most common type is the square shoulder end mill3. Its job is to produce a 90-degree angle between the floor and the wall of a pocket.
Here, you have a choice between solid carbide and indexable end mills. From my experience, solid carbide end mill10s are the best for finishing. They are incredibly rigid and precise, which gives you an excellent surface finish on the walls and floor. They are perfect for smaller pockets or when tight tolerances are critical. On the other hand, for roughing out a lot of material, an indexable end mill is often more economical. Just like with face mill2s, you can replace the inserts instead of the entire tool. This is a huge cost-saver on high-volume jobs.
| Tool Type | Best For | Key Advantage |
|---|---|---|
| Solid Carbide End Mill | Finishing, small pockets, high precision | Superior rigidity and surface finish |
| Indexable End Mill | Roughing, large pockets, cost-sensitive jobs | Lower long-term cost, quick insert changes |
Which Cutter Do You Use for 3D Contouring and Complex Shapes?
Machining curved, organic surfaces is a major challenge. Using a standard flat tool will leave ugly steps on the surface, requiring hours of manual polishing to smooth out.
For 3D contouring and complex shapes, you should use a ball nose end mill4. The tool's hemispherical tip allows it to follow a smooth, continuous path. This creates the intricate, flowing surfaces found in molds and aerospace parts without leaving sharp steps.
When we talk about 3D machining11, we're entering the world of molds, dies, and advanced aerospace components. Here, flat surfaces are rare. To create these complex contours, you need a tool that can move smoothly in all three dimensions. The number one choice for this is the ball nose end mill4. Its rounded tip allows it to trace complex surfaces perfectly, creating a smooth finish. For final finishing passes on a mold cavity, nothing beats a ball nose end mill4.
However, for roughing out the bulk of the material on a 3D shape, a ball nose mill can be slow. That's where a bull nose end mill12, also known as a corner radius end mill, comes in. It's like a hybrid. It has a flat bottom like a square end mill but with rounded corners. This radius adds strength and allows it to rough out 3D shapes more aggressively than a ball nose, leaving smaller, smoother steps. A common strategy in our customers' shops is to use a bull nose for roughing and semi-finishing, then switch to a ball nose for the final, precise finishing pass.
| Tool Type | Best For | Key Advantage |
|---|---|---|
| Ball Nose End Mill | Finishing 3D surfaces, fine details | Creates the smoothest possible contoured surface |
| Bull Nose End Mill | Roughing and semi-finishing 3D surfaces | Faster material removal13, stronger cutting edge |
How Do You Cut Special Features like Keyways or Dovetails?
Standard end mills are great, but they can't create every shape. Trying to machine features like T-slots or keyways with them is impossible and just leads to wasted time.
To cut special features like keyways, dovetails, or T-slots, you must use a specialty cutter5 designed for that exact shape. For example, a T-slot cutter14 is needed for T-slots, and a grooving end mill15 is perfect for keyways. Using the right tool is non-negotiable.
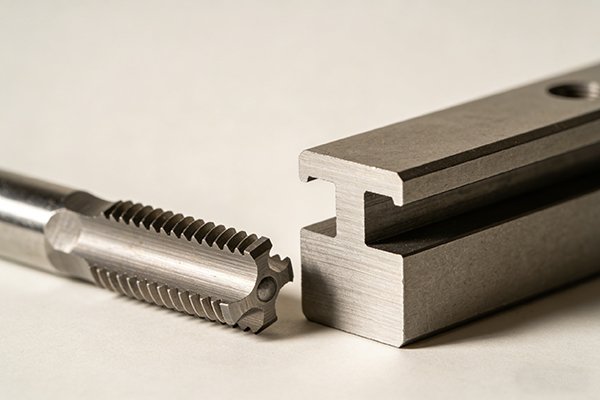
Some jobs just can't be done with a general-purpose tool. Features that have an "undercut," like a T-slot or a dovetail, require a tool shaped exactly like the feature you want to create. Trying to get creative with standard tools here is a recipe for disaster. At our factory, we produce a wide range of these problem-solvers because we know our customers rely on them.
For example, to cut a keyway, you'd use a grooving or three-sided end mill. This tool is designed to cut on its face and its sides simultaneously to create a precise slot. To make a T-slot, the process is two steps: first, mill a standard slot with an end mill. Then, come back with a T-slot cutter14 to create the undercut section at the bottom. The same logic applies to dovetail cutters. Another important specialty tool is the thread mill, which we manufacture for creating high-precision internal or external threads, offering more control than a traditional tap. These tools aren't used every day, but when you need them, they are absolutely essential.
| Feature to Cut | Specialty Tool Required |
|---|---|
| Keyway / Straight Groove | Grooving End Mill / Three-Sided End Mill |
| T-Slot | T-Slot Cutter |
| Dovetail Slide | Dovetail Cutter |
| Threads | Thread Milling Cutter |
What Tools Are for Adding Final Touches like Chamfers and Radii?
A finished part with sharp, burred edges looks unprofessional. These edges are also a safety hazard and can chip easily or prevent parts from fitting together properly.
For adding final touches like chamfers and radii, you need a finishing tool like a chamfer mill16 or a corner rounding end mill17. These tools are made specifically to break sharp edges, create a clean bevel, or add a smooth, consistent radius for a professional finish.
The final touches on a part are what separate good work from great work. Removing sharp edges is a critical step for safety, function, and appearance. We call this process "edge breaking" or "deburring." Instead of doing this by hand, you can use specific tools in the CNC machine18 to get a perfect, consistent result every time.
A chamfer mill16 is the most common tool for this. It's used to create a small, angled surface on an edge, usually at a 45 or 60-degree angle. This removes the burr and makes the part safe to handle. For creating a rounded edge instead of a flat one, you would use a corner rounding end mill17. This tool creates a precise external radius, which can be important for strength or for how a part fits with another. These are not the same as bull nose end mill12s, which create an internal radius at the bottom of a pocket. Taking this final step shows a high level of quality and attention to detail that customers always appreciate.
| Finishing Task | Tool to Use | Result |
|---|---|---|
| Create a Beveled Edge | Chamfer Mill | A flat, angled edge (chamfer) |
| Create a Rounded Edge | Corner Rounding End Mill | A smooth, external curve (radius) |
Conclusion
Choosing the right milling tool1 for each job saves time, reduces waste, and produces better parts. If you need help selecting a tool, our team is always here to assist.
Explore this link to understand the various milling tools and their specific applications for optimal results. ↩
Learn about face mills and their efficiency in creating flat surfaces in machining processes. ↩
Discover the benefits of square shoulder end mills for achieving precise corners and clean finishes. ↩
Find out how ball nose end mills are essential for 3D contouring and creating smooth surfaces. ↩
Explore the different specialty cutters designed for specific machining tasks and their importance. ↩
Understand the dynamics of the cutting tool business and the importance of tool selection. ↩
Discover tips and techniques to maximize tool life and reduce costs in machining operations. ↩
Explore the various milling jobs and the tools best suited for each application. ↩
Learn how indexable face mills can save costs and reduce downtime in machining operations. ↩
Understand the advantages of solid carbide end mills for achieving high precision and excellent finishes. ↩
Explore various machining processes to understand how different tools are applied in manufacturing. ↩
Find out how bull nose end mills are used for roughing and semi-finishing 3D surfaces. ↩
Explore the various methods of material removal and their significance in machining efficiency. ↩
Learn about T-slot cutters and their role in creating T-slots in various materials. ↩
Discover how grooving end mills are used for creating precise slots and grooves in machining. ↩
Explore the importance of chamfer mills for adding final touches and improving part safety. ↩
Learn how corner rounding end mills create smooth edges for better fit and finish. ↩
Learn about CNC machines and their role in modern manufacturing and precision machining. ↩