Your standard end mills keep breaking on tough jobs. This costs you time and money. You know there's a better option, but the high upfront cost makes you hesitate.
Yes, a high-performance end mill1 is worth it when machining difficult materials or when you need maximum efficiency. Its advanced design reduces cycle times2, extends tool life3, and improves part quality4, delivering a strong return on investment in demanding applications where standard tools fail or underperform.
I've seen countless machine shops struggle with this exact question. They look at the price tag of a high-performance tool and compare it to a standard one, and the choice seems obvious. But that's looking at the problem the wrong way. The real cost isn't in the tool itself, but in the downtime, scrapped parts5, and slow cycle times2 that come from using the wrong tool for the job. Let's break down exactly where these advanced tools shine and how they solve problems that standard tools just can't handle.
What Core Problem Does Its Unique Design Solve?
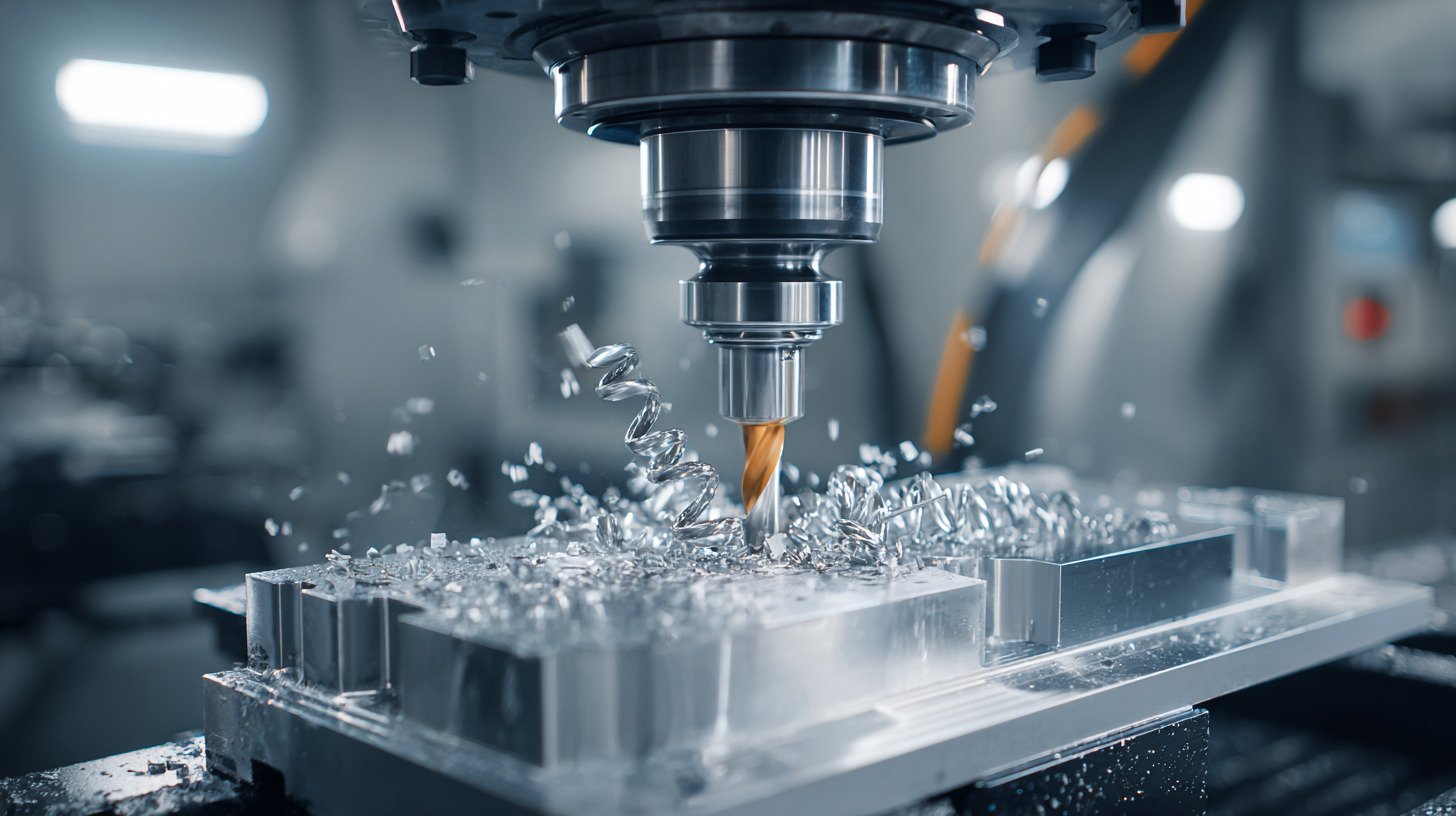
You are machining tough materials6 like stainless steel or titanium. Your standard end mills wear out fast, or even chip. This forces you to slow down your machine and constantly change tools.
A high-performance end mill1 is specifically designed to handle these challenges. It uses a unique geometry7 and advanced coating8 to cut difficult materials smoothly and efficiently. This allows you to machine faster and longer, solving the problem of premature tool failure and low productivity.
The core problem that a high-performance end mill1 solves is an engineering mismatch9. A standard tool is a generalist, made for common materials like basic steel or aluminum. But when you introduce a specialist material, you need a specialist tool. I remember a customer working with Inconel for an aerospace part. They were burning through standard cutters every ten minutes. The unique design of a high-performance tool addresses this mismatch in two key areas.
Machining Difficult-to-Machine Materials
Materials like titanium alloys, high-temperature alloys (like Inconel), and stainless steel are tough, gummy, and generate a lot of heat. A standard tool can't handle this.
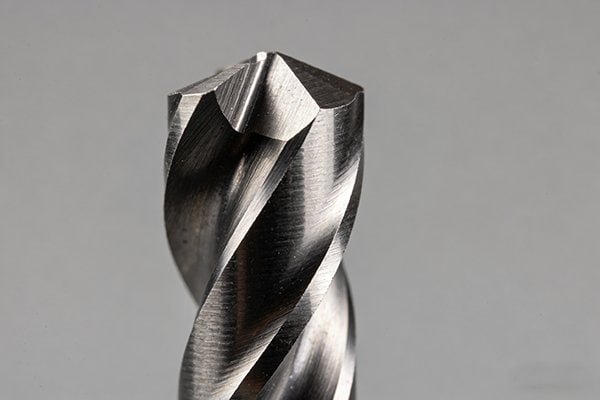
- Unique Design Solution: High-performance end mills use a large helix angle, often 45 degrees or more. This creates a shearing action that peels the material away instead of pushing through it. This reduces cutting forces and directs heat away into the chip, protecting both the tool and the part. Many also feature a variable helix design, which changes the angle along the cutting edge to disrupt harmonic vibrations, a major cause of chatter and poor finish. The special coatings, like AlTiN or AlCrN, act as a thermal barrier, preventing the intense heat from softening the carbide substrate.
Machining High-Hardness Materials
When you're milling hardened steel (HRC 48-65), you're not really "cutting" in the traditional sense. It's more like a controlled grinding operation.
- Unique Design Solution: These tools are made from a special micro-grain carbide10 matrix that is extremely tough and resistant to chipping. The cutting edge has a very specific negative rake11 and a reinforced design to withstand the high pressure. The tool performs a "grinding" or "plowing" action, creating a very fine chip and achieving a high surface finish. A standard tool, with its softer carbide and positive rake, would simply shatter on contact.
| Feature | Standard End Mill | High-Performance End Mill | Core Problem Solved |
|---|---|---|---|
| Material | General Steel, Aluminum | Titanium, Stainless, Hardened Steel | Premature tool wear and failure |
| Helix Angle | 30° | 45°+ or Variable | High cutting forces and heat |
| Coating | TiN (General Purpose) | AlTiN / AlCrN (High Temp) | Heat transfer to the tool |
| Carbide Grade | Standard Grain | Micro-Grain | Chipping in hard materials |
When Does Your Standard Tool Become a Business Liability?
You're under pressure to increase output and lower your cost-per-part. But your machines are already running at their limit with standard tools. Pushing them harder just leads to broken tools and scrapped parts5.
A standard tool becomes a liability when its limitations cap your shop's productivity and profitability. When you need high metal removal rates12 or a flawless surface finish, a standard tool forces compromises that directly hurt your bottom line through slow cycle times2 and extra finishing steps.
A tool is no longer just a tool when it starts dictating your business strategy. If you're turning down jobs or missing deadlines because your cutting process is a bottleneck, your standard end mill has become a serious liability. It's the hidden cost that doesn't show up on the purchase order. This happens in two very common scenarios I see all the time in job shops and production facilities.
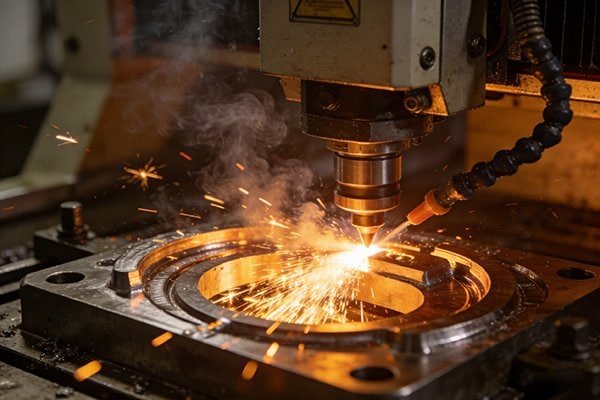
High-Speed, High-Removal-Ratio Machining
This is all about roughing—removing a lot of material as fast as possible. You're taking a large depth of cut (Ap) or a wide width of cut (Ae).
- The Liability: A standard end mill will start to vibrate or "chatter" violently under these conditions. The chatter leads to a poor surface finish, puts extreme stress on the machine's spindle, and can cause the tool to chip or snap unexpectedly. To avoid this, operators have to reduce the feed rates and cutting depths, which kills efficiency. The tool's standard core design can't handle the high torque, and its simple flute shape13 can't evacuate chips fast enough, leading to clogging and breakage. Your machine is capable of more, but the tool is holding it back.
High Surface Quality Requirements
This is about finishing. The goal is to get a part off the machine that needs little to no secondary processing, like polishing or grinding. You need a surface finish of Ra < 0.4.
- The Liability: A standard end mill has microscopic inconsistencies along its cutting edge. These tiny flaws act like a file, leaving tool marks and burrs on the workpiece. The runout (wobble) of a standard tool is also higher, making it impossible to achieve a stable "scraping" effect needed for a mirror finish14. This means you have to add a costly and time-consuming manual polishing step to your process. The labor cost of that extra step often far exceeds the cost of a high-performance finishing tool that could have done the job in a single pass.
| Machining Goal | Standard Tool Liability | High-Performance Solution | Business Impact |
|---|---|---|---|
| Aggressive Roughing | Chatter, tool breakage15, slow MRR | Unequal flute spacing, reinforced core | Drastically reduced cycle times2 |
| Mirror Finishing | Leaves tool marks, requires polishing | Precise edge prep, low runout (<5μm) | Eliminates secondary operations16 |
How Can You Prove the ROI Before Committing?
You understand the theory, but you're not convinced. You need to see real numbers that prove a more expensive tool will actually save you money. You can't afford to gamble on a big purchase.
You prove the ROI with a controlled test17. Run a high-performance tool side-by-side with your standard tool on the same job. By tracking key metrics like cycle time, tool life3, and parts per tool, you can calculate the exact cost-per-part and see the savings yourself.

The best way to eliminate risk is with data. Don't just take our word for it—or any supplier's word. You need to prove it on your own machines, with your parts and your operators. I always encourage our partners to do this. A good supplier should be willing to work with you on a test because they are confident in their product's performance. Here is a simple, effective way to structure a test to prove the return on investment (ROI).
Step 1: Establish a Baseline
First, you need to know your current numbers. Don't rely on feelings or estimates. For a specific, recurring job, run it with your standard end mill and carefully record everything.
- Cycle Time: How long does it take to machine one complete part?
- Tool Life: How many good parts can you make before the tool wears out or breaks?
- Tool Cost: The price you pay for one standard end mill.
- Machine Rate: Your shop's hourly cost for running that specific CNC machine.
From this, you can calculate your current Cost-Per-Part18.
[Cost-Per-Part](https://nv-tool.com/how-do-you-develop-a-winning-machining-strategy/)18 = (Cycle Time Cost) + (Tool Cost Per Part)
Cycle Time Cost = (Machine Rate / 60) * Cycle Time in Minutes
Tool Cost Per Part = (Tool Cost) / (Parts Per Tool)
Step 2: Run the Controlled Test
Now, switch to the high-performance end mill1. It is critical to change only the tool and the cutting parameters. Use the same machine, the same material batch, and the same operator. Work with your tool supplier (like us at NV-Tool) to get the recommended speeds and feeds for the new tool. These will likely be much more aggressive than your current parameters. Run the job and record the same data points: cycle time and the total number of parts you can make with the new tool.
Step 3: Compare the Data
Now you have two sets of numbers. Plug the new data into the same Cost-Per-Part18 formula. You will almost certainly find that even though the initial tool cost is higher, the savings from reduced cycle time and longer tool life3 result in a significantly lower final cost for each part you produce.
| Metric | Standard Tool (Baseline) | High-Performance Tool (Test) | Impact on ROI |
|---|---|---|---|
| Tool Cost | $15 | $60 | Initial investment |
| Cycle Time | 8 minutes | 4 minutes | Reduces machine/labor cost |
| Tool Life (Parts) | 50 parts | 300 parts | Reduces tool consumption |
| Cost-Per-Part18 | $3.30 (at $20/hr rate) | $1.53 (at $20/hr rate) | 53% Savings |
This data-driven approach removes all guesswork. It provides clear, undeniable proof of the financial benefit and makes the investment decision easy.
Conclusion
A high-performance end mill1 is an investment in efficiency. It directly lowers your cost-per-part by solving complex machining challenges, making it a crucial tool for any competitive modern machine shop.
Explore how high-performance end mills can enhance machining efficiency and reduce costs. ↩
Explore strategies to minimize cycle times and boost productivity in your machining operations. ↩
Understand the key factors that influence tool life and how to maximize it. ↩
Learn how selecting the right tools can significantly improve the quality of your machined parts. ↩
Find effective strategies to minimize scrapped parts and improve profitability. ↩
Learn about tools specifically designed for tough materials to improve your machining processes. ↩
Discover how unique geometries can lead to better cutting performance and tool longevity. ↩
Find out how advanced coatings can enhance tool performance and durability. ↩
Explore the concept of engineering mismatch and its impact on machining efficiency. ↩
Learn about micro-grain carbide and how it enhances cutting tool performance. ↩
Understand the benefits of negative rake angles in improving cutting efficiency. ↩
Discover tools designed for high metal removal rates to enhance machining efficiency. ↩
Explore how different flute shapes can impact the performance of cutting tools. ↩
Find techniques and tools that can help you achieve a flawless mirror finish. ↩
Learn about the common causes of tool breakage and how to prevent it. ↩
Understand the implications of secondary operations and how to minimize them. ↩
Learn how to set up a controlled test to evaluate cutting tool performance effectively. ↩
Explore methods to calculate Cost-Per-Part and improve your machining cost efficiency. ↩