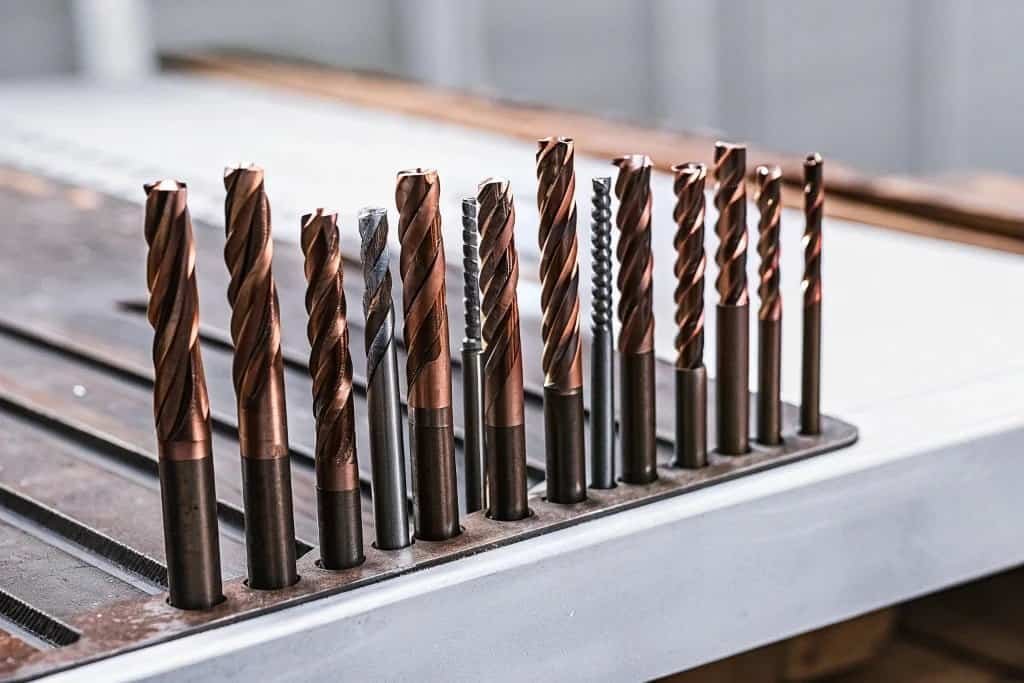
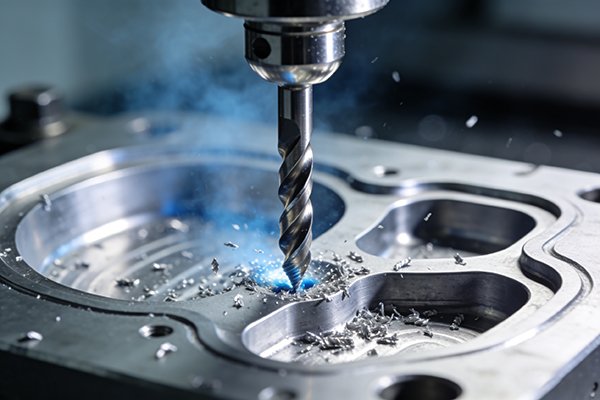
Choosing the wrong milling cutter1 wastes time, money, and material. This guide simplifies the process, ensuring you pick the perfect tool for the job every time.
Choosing the right milling cutter1 depends on your goal. For fast material removal2, use robust tools like face mills3. For precision and fine finishes, use specialized tools like ball end mills4. The material you are cutting and the specific shape you need to create are also key factors.
I've been in the cutting tool business for over a decade, and I've seen it all. A simple tool choice can be the difference between a profitable job and a pile of scrap. It might seem complex with all the options out there, but it really boils down to understanding what you want to achieve. Let's break it down into simple, practical steps so you can choose your next milling cutter1 with confidence.
What's Your Mission: Removing Material Fast or Achieving a Perfect Finish?
You need to machine a part, but where do you start? The wrong approach costs time and money. Understanding the balance between speed and quality is the first critical step.
For fast material removal2, known as roughing5, you need strong cutters designed for high metal removal rate6s. For a perfect surface, known as finishing7, you need tools with sharp, precise cutting edges8 and often more flutes9.

In our factory, every machining10 job is broken down into two main stages: roughing5 and finishing7. Think of it like sculpting. First, the sculptor quickly removes large chunks of stone to get the basic shape. That’s roughing5. Then, they switch to smaller, more detailed tools to create the fine features and smooth surfaces. That’s finishing7.
For roughing5, your only goal is to remove as much material as possible, as quickly as possible. This calls for tough tools. You'll want cutters with strong cutting edges8, often with fewer flutes9 to leave plenty of room for big chips to fly out. Tools like large-diameter face mills3 or special corner milling cutter1s with helically arranged inserts are perfect for this. They are built to take heavy cuts without breaking a sweat.
For finishing7, the game changes completely. Speed is less important than accuracy and surface quality. Here, you need tools with very sharp cutting edges8. More flutes9 on the cutter will give you a smoother surface because each tooth takes a smaller bite. This is where tools like ball end mills4 shine, especially for 3D surfaces. The tool material11 and coating12 also become critical. A coating12 like DLC can give you a mirror-like finish on aluminum.
| Feature | Roughing | Finishing |
|---|---|---|
| Primary Goal | High Material Removal Rate (MRR) | Excellent Surface Finish & Accuracy |
| Tool Choice | Large, robust cutters (e.g., Face Mills) | Sharp, precise tools (e.g., Ball End Mills) |
| Cutting Edges | Strong and tough | Sharp and precise |
| Number of Flutes | Fewer (for chip space) | More (for smoother cuts) |
How Do You Efficiently Machine Large, Flat Surfaces?
You have a large, flat block of metal to prepare. Using a small end mill would take forever and leave a terrible finish. There is a much better, specialized tool for this.
To machine large, flat surfaces, you should use a Face Mill. This tool uses multiple indexable inserts on a large cutter body, allowing it to remove a massive amount of material in a single, clean pass.
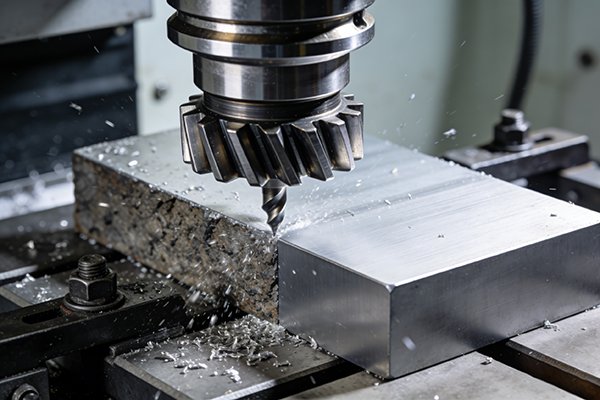
When a customer needs to flatten a large workpiece, a face mill is always my first recommendation. It is the undisputed champion of creating flat surfaces. The design is simple but incredibly effective. A large, rigid cutter body holds several small, replaceable carbide inserts around its edge. When the cutter spins, all these inserts work together to slice a wide path across the material. I remember a job where a client cut their cycle time in half just by switching from a large solid end mill to one of our face mills3.
The efficiency is the biggest advantage. More cutting edges8 working at the same time means you get an extremely high metal removal rate6. You can flatten a surface in a fraction of the time. It’s also very economical. When the inserts get dull, you don’t throw away the whole tool. You simply rotate or replace the small, inexpensive inserts, and you’re back to cutting. The main cutter body can last for years. This rigidity also means you can take deep, aggressive cuts without worrying about tool vibration or "chatter," which is essential for achieving a truly flat surface.
| Face Mill Feature | Benefit for Flat Surfaces |
|---|---|
| Multiple Inserts | Drastically increases Metal Removal Rate (MRR) |
| Large Diameter | Ensures a flat surface in fewer passes |
| Indexable Inserts | Lowers long-term tooling costs |
| High Rigidity | Allows for deep cuts without vibration |
What Are the Go-To Tools for Carving Pockets, Slots, and Profiles?
You need to create features like pockets13, steps, or grooves. The wrong tool can break, give a bad finish, or fail to make the shape you need. The end mill is your hero here.
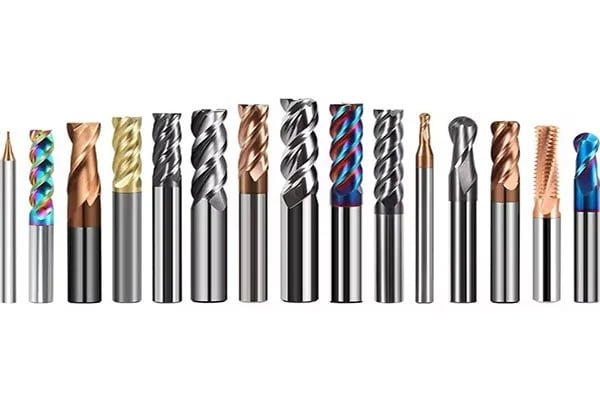
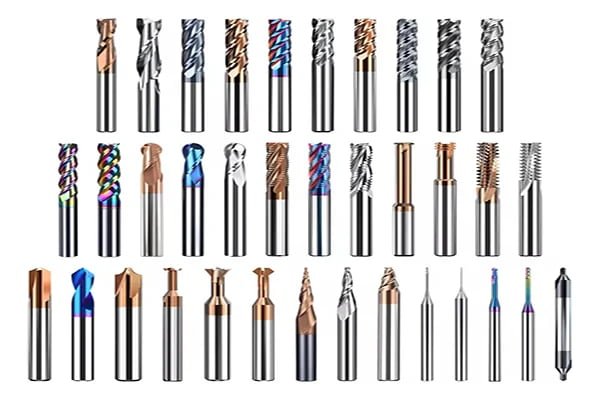
The most versatile tool for carving pockets13, slots14, and profiles15 is the End Mill. It comes in many forms, including flat, ball nose, and round nose, making it the perfect choice for a huge range of general milling operations.
I often call the end mill the "Swiss Army knife" of the machine shop. If you need to machine almost any feature other than a simple flat surface, an end mill is likely the tool you'll reach for. Its versatility is unmatched. We manufacture thousands of them every month, in all shapes and sizes, because they are the workhorse for so many industries.
Let's look at the main types. The Flat End Mill is the most common. It has a square bottom and is used for creating 90-degree side walls, pockets13, and steps. The Ball End Mill has a fully rounded tip, like a ballpoint pen. It's the artist's tool, perfect for creating smooth, complex 3D surfaces and organic shapes, common in mold making and aerospace. Then there's the Round Nose End Mill, which is a hybrid. It has a flat bottom but with rounded corners. This design adds strength and is ideal for roughing5 3D shapes or creating a specific radius at the bottom of a pocket. For creating very specific, precise grooves like keyways, a specialized Slot Mill is the best choice, as it's designed for the radial forces of cutting a full-width slot.
How Are Complex 3D Contours and Organic Shapes Created?
Your design has complex curves and flowing surfaces. A standard flat cutter will just leave a stepped, ugly mess. Machining these shapes requires a special approach and the right tools.
Complex 3D contours are created using contour milling16, which often involves Ball End Mills or Round Nose End Mills. These tools follow a precise 3D toolpath, making many small cuts to sculpt the final organic shape smoothly.
Creating those beautiful, flowing surfaces you see on car bodies, consumer products, or complex molds is a process called contour milling16, or 3D milling. It’s one of the most advanced capabilities of a CNC machine17, and it relies entirely on having the right tool. The hero of this process is the Ball End Mill. Its perfectly round tip allows it to move smoothly along any curved surface, always touching the material at a single point. This prevents the gouging and stepping that a flat tool would cause. For finishing7 passes, the machine will run the ball end mill over the surface in many tiny, close-together passes to create a surface that looks and feels perfectly smooth.
For removing the bulk of the material before the finishing7 pass, a Round Nose End Mill is often used. Its corner radius makes the tool much stronger than a sharp-cornered flat end mill, so it can handle heavier cuts. It also leaves a better, more "scalloped" surface that is easier for the ball end mill to clean up later. I've seen our tools used to create everything from intricate aerospace components to detailed injection molds. The precision you can achieve with the right ball end mill and a good CAM program is incredible.
Which Specialty Cutters Create Specific Mechanical Features?
You need to make a T-slot, a thread, or a deep groove. A standard end mill just won't work for these special shapes. For these jobs, you need a purpose-built cutter.
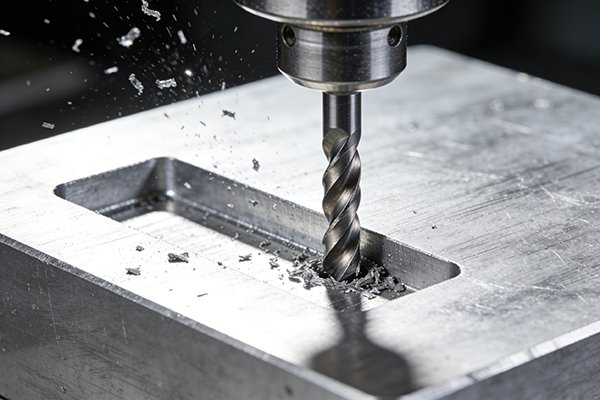
For unique mechanical features, you need specialty cutters. A T-Slot Cutter carves T-slots14, a Thread Mill creates threads, and a Drill Mill18 can plunge and mill, each designed for maximum efficiency for its specific task.
While end mills and face mills3 cover most jobs, some features require a tool designed for one specific purpose. Using a specialty cutter is almost always faster, more accurate, and more reliable than trying to get a standard tool to do a job it wasn't designed for. We manufacture a range of these tools because our customers in industries like automotive and mold making need them every day.
A great example is the T-Slot Milling Cutter. You can't make a T-slot with a regular end mill. The process is to first cut a straight channel with an end mill, then come back with the T-slot cutter19 to machine the wider section at the bottom. Another amazing tool is the Thread Milling Cutter. Unlike a tap, it can create internal or external threads of various sizes and pitches with a single tool. It’s also the best way to thread very hard materials or large-diameter holes where a tap would be impractical. Then there is the Drill Mill18, which combines two functions. It can plunge straight down into solid material like a drill and then move sideways to mill a pocket. This saves a tool change and is perfect for creating cavities from scratch.
Conclusion
Choosing the right cutter is simple: match the tool to the task. Use face mills3 for flats, end mills for general-purpose work, and specialty cutters for unique features.
Understanding milling cutters is essential for selecting the right tool for your machining needs. ↩
Explore effective strategies for material removal to enhance your machining efficiency. ↩
Learn about face mills, their advantages, and how they can improve your machining processes. ↩
Discover the versatility of ball end mills for creating complex shapes and finishes. ↩
Gain insights into the roughing process and its significance in efficient machining. ↩
Learn about metal removal rate and its significance in machining efficiency. ↩
Understand the finishing process to achieve high-quality surface finishes in your projects. ↩
Explore the impact of cutting edge design on tool performance and machining outcomes. ↩
Learn how the number of flutes influences cutting efficiency and surface finish. ↩
Gain insights into various machining processes and their applications. ↩
Explore different tool materials and their impact on performance and durability. ↩
Understand how coatings enhance tool performance and extend tool life. ↩
Learn techniques for machining pockets effectively in your projects. ↩
Explore different methods for creating slots and their applications. ↩
Understand the techniques for creating profiles and their importance in design. ↩
Explore contour milling techniques for creating intricate designs and shapes. ↩
Discover the capabilities of CNC machines and their role in modern manufacturing. ↩
Discover the versatility of Drill Mills for efficient machining tasks. ↩
Learn about T-slot cutters and their specific applications in machining. ↩