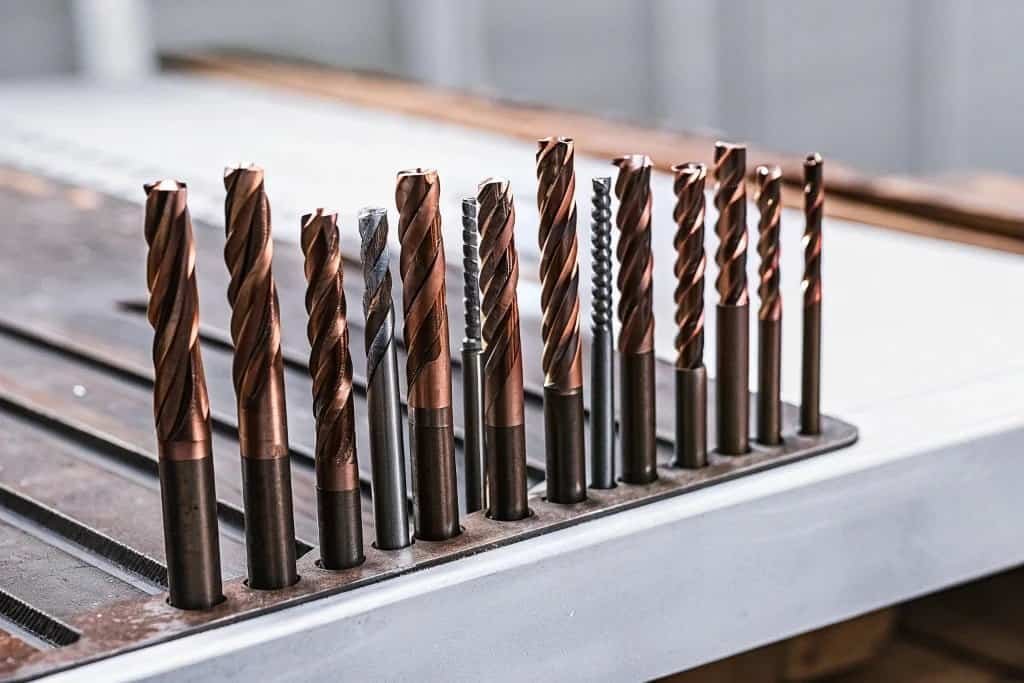
Worn finish end mills piling up in your shop? Throwing them away wastes money, but using them for roughing causes failure. Re-purpose them into valuable roughing tools instead.
Re-purposing a finish end mill involves modifying its geometry for heavy-duty work. This includes rounding the sharp edge, adjusting rake and clearance angles, optimizing chip grooves, and applying a new, more robust coating suitable for roughing operations. This transforms it into a cost-effective roughing tool.
It sounds simple, but turning a delicate finishing tool into a robust rougher requires a careful, step-by-step approach. Get it right, and you unlock significant savings for your shop. Get it wrong, and you risk tool breakage and expensive workpiece damage. So, how do you know when a tool is even ready for this second life? Let's dive into the details and turn that pile of used tools into a strategic advantage.
When Does a Finish End Mill Become a Candidate for Re-purposing?
Have a box of used finish mills? It's hard to tell which are junk and which can be saved. Learn the key signs that make a tool a perfect candidate.
A finish end mill is a prime candidate for re-purposing when it has even flank wear without major chips or cracks. The core structure must be sound, and the tool's base material, like a medium-grain carbide, must be suitable for the higher stresses of roughing.
Before you even think about modifying a tool, you need to qualify it. Not every used end mill is worth the effort. From my experience working with hundreds of shops, the selection process is the most critical step. A bad candidate will fail no matter how well you modify it.
Assessing Wear and Damage
The ideal candidate is a tool that was retired from finishing due to predictable, uniform flank wear. This means the cutting edge has slowly worn down but is otherwise intact. You should immediately reject any tool with major cracks, significant chipping along the cutting edge, or signs of heat damage like discoloration. Minor corner chipping can sometimes be ground away if the modification process involves shortening the tool, but any cracks in the tool's core or flute mean it's destined for the recycling bin. A compromised core cannot handle the intense forces of roughing.
Evaluating Material and Structure
You also need to consider the tool's original construction. Finish end mills are often made from fine-grain carbide, which provides excellent wear resistance and holds a sharp edge. For roughing, medium-grain carbide (like a K30/K40 grade) is often better because it offers higher toughness and impact resistance. If your finisher is made of a tougher grade, it's an excellent candidate. Additionally, check the remaining length. The re-purposing process will remove some material. You must ensure there's enough flute length and shank integrity left to perform the roughing operation rigidly.
| Assessment Criteria | Good Candidate (Go) | Bad Candidate (No-Go) |
|---|---|---|
| Wear Pattern | Uniform flank wear | Major chipping, cracks, fractures |
| Heat Damage | None | Visible discoloration (blue/purple) |
| Core Integrity | Sound, no visible cracks | Any suspected internal cracks |
| Carbide Grade | Medium-grain (e.g., K30/K40) | Very fine-grain, brittle grades |
| Remaining Length | Sufficient for regrinding & rigidity | Too short to be effective or rigid |
What is the Step-by-Step Workflow for Integrating Re-purposed End Mills?
Ready to modify that end mill? A haphazard approach will only create a weaker tool. Follow our proven, step-by-step workflow for a reliable and successful transformation every time.
The workflow begins with a thorough inspection and stripping the old coating. Next, the core modifications take place: rounding the cutting edge, adjusting geometric angles, and optimizing chip evacuation. The final steps are applying a new, robust coating and performing a dynamic balance test for stability.
Once you've selected a good candidate, the transformation process begins. This isn't just about re-sharpening; it's a complete reconstruction of the tool's cutting geometry. At NV-Tool, we've refined this process to ensure every re-purposed tool is reliable and performs consistently.
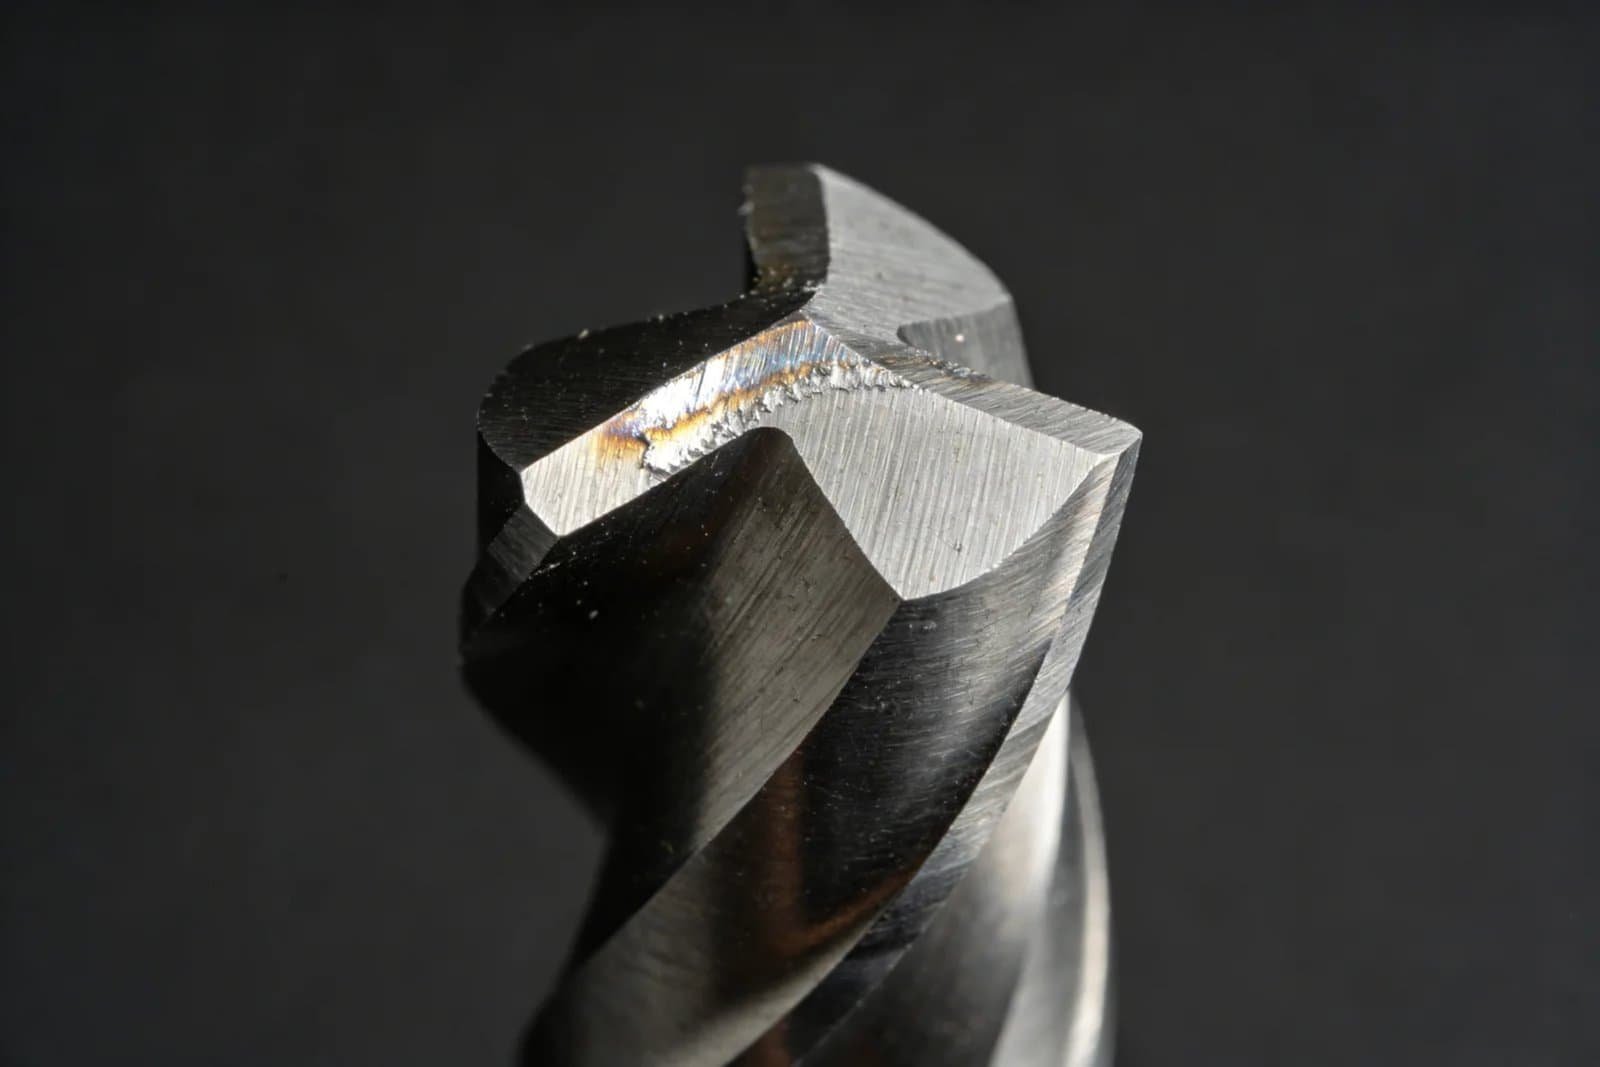
Edge Reconstruction and Strengthening
A finish mill has a very sharp edge, often around 5-15μm, to shear material cleanly. This is too fragile for roughing. The first step is to create a stronger edge. We use a passivation process to create a rounded edge of about 20-40μm. This rounded edge distributes cutting forces more evenly and prevents chipping under heavy loads. For very tough materials, we may also grind a small protective chamfer (e.g., 0.1mm x 45°) onto the edge for even more strength. The original coating, which is typically a thin, wear-resistant layer like TiAlN, must be completely stripped off using sandblasting before these modifications can be made.
Geometric and Groove Optimization
Next, we alter the tool's core geometry. Finishers often have a high rake angle (15°+) for smooth cutting. We regrind the rake face to reduce this angle to around 5°-10°, which adds more material behind the cutting edge, increasing its strength. At the same time, we might increase the clearance angle slightly to reduce friction. Most importantly, we address chip evacuation. Finishers rarely have chip breakers. We can grind a chip breaker into the flute to break long, stringy chips into manageable pieces, which is crucial for heavy roughing cuts.
| Modification | Finishing Geometry (Original) | Roughing Geometry (Modified) | Purpose of Change |
|---|---|---|---|
| Edge Prep | Sharp (5-15μm radius) | Rounded (20-40μm radius) | Increase edge strength, prevent chipping |
| Rake Angle | High (e.g., 15°-20°) | Lower (e.g., 5°-10°) | Strengthen cutting edge |
| Chip Breaker | None | Added | Break chips, improve evacuation |
| Coating | Thin, wear-resistant (TiAlN) | Thick, tough & heat-resistant (AlTiN) | Improve impact and heat resistance |
Coating and Final Preparation
After the geometry is modified, the tool is ready for its new armor. We apply a new PVD coating, but this time we choose one designed for toughness and high temperatures, like an AlTiN or AlCrN-based coating. We also apply it thicker, around 4-6μm, to provide better thermal insulation and impact resistance. The final, non-negotiable step is dynamic balancing. Any regrinding can affect the tool's balance. We test every tool to ensure it meets at least a G6.3 balance grade to prevent vibration at high RPMs.
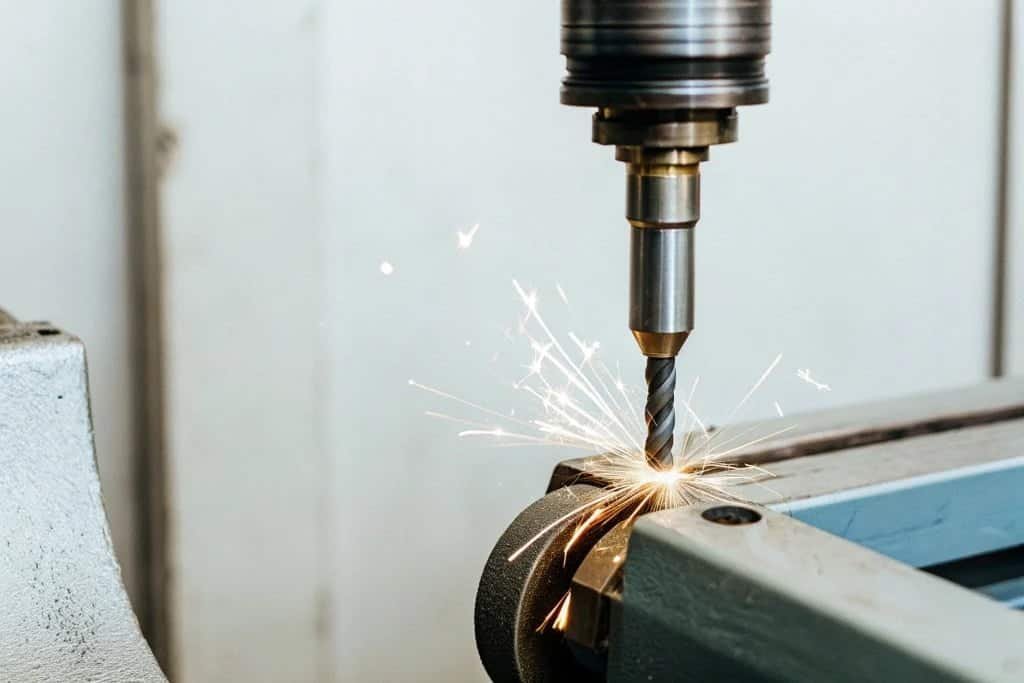
How Do You Adjust Speeds and Feeds for These 'Second-Life' Roughers?
Your re-purposed tool is ready. But using finish or standard roughing parameters is a mistake. You need a specific approach to speeds and feeds to maximize its new life.
With a re-purposed tool, the key is to decrease cutting speed (RPM) to manage heat and stress on the modified edge. At the same time, you should significantly increase the feed rate (FPT) to maximize the material removal rate, taking full advantage of its new, stronger geometry.
A re-purposed tool is a unique hybrid. It's not a standard finisher, and it's not a brand-new rougher. Therefore, you can't just plug in book values for your cutting parameters. You have to adapt your strategy to the tool's new characteristics. I always advise my customers to follow a simple principle to get the most out of these tools safely.
The "Slow Down, Feed Up" Principle
The core strategy is to trade speed for feed. The modified cutting edge is tougher, but the overall tool (especially if it was originally fine-grain carbide) might be more sensitive to heat.
- Reduce Cutting Speed (SFM/RPM): Start by reducing the surface speed by about 20-30% compared to what you'd use for a new roughing tool in the same material. This lowers the temperature at the cutting edge, protecting the coating and the carbide substrate.
- Increase Feed Rate (IPT/FPR): This is where you get your productivity back. The stronger, rounded edge can handle a much heavier chip load. Increase your feed per tooth significantly, sometimes by 50-100% over what the tool could handle as a finisher. This creates a thick chip that carries heat away from the tool and workpiece.
Adjusting Depth and Width of Cut
With these tools, I recommend starting with a more conservative axial depth of cut (ADOC) and radial width of cut (RDOC). Use a shallower depth but a higher feed rate. This approach leverages the tool's new strength without subjecting its core to extreme stress. As you gain confidence in the tool's performance, you can gradually increase the depth of cut while monitoring the machine's load meter and listening to the sound of the cut.
| Parameter | Finishing Strategy | Re-purposed Roughing Strategy | Rationale |
|---|---|---|---|
| Speed (RPM) | High | Low to Medium | Reduce heat, protect the modified edge |
| Feed (FPT) | Low | High | Maximize MRR, use the strengthened edge |
| Chip | Thin, light | Thick, heavy | Carry heat away from the tool |
| Focus | Surface Finish | Material Removal Rate (MRR) | Match the tool's new purpose |
What Are the Hidden Risks and How Do You Mitigate Them?
Re-purposing end mills seems like a clear win. But a sudden tool failure can destroy a workpiece, erasing all your savings. Know the hidden risks and how to prevent them.
Hidden risks include unpredictable life, vibration due to imbalance, and catastrophic failure from missed micro-cracks. Mitigate these with strict inspection, mandatory dynamic balancing after regrinding, and always starting with conservative cutting parameters to validate the tool's performance on a test piece first.
While the benefits are significant, it would be wrong for me to say there are no risks. This is, after all, a used tool being asked to perform a demanding new job. However, in our experience, these risks are entirely manageable if you are aware of them and take simple precautions. Ignoring them is what gets shops into trouble.
The Danger of Micro-Cracks
This is the biggest hidden risk. A micro-crack, invisible to the naked eye, can be present from the tool's first life. Under the heavy, cyclical loads of roughing, this crack can propagate rapidly, leading to a sudden, catastrophic failure of the tool. This can damage the workpiece, the tool holder, and even the machine spindle.
- Mitigation: This is why the initial inspection is so crucial. Use magnification and good lighting. If you have the capability, dye-penetrant testing can help reveal surface cracks. If there is any doubt about the tool's integrity, it is not worth the risk.
The Vibration Problem
As I mentioned, any regrinding process removes material unevenly and will throw the tool out of balance. An unbalanced tool rotating at thousands of RPM creates significant vibration. This leads to chatter, poor surface quality, and accelerated wear on your machine's spindle bearings—a very expensive repair.
- Mitigation: This is a simple fix: never skip the dynamic balancing step. Any service provider who re-purposes tools for you must provide proof of balancing. At NV-Tool, we balance every modified tool to a minimum of G6.3 standard.
Inconsistent Tool Life
Even with a perfect process, a re-purposed tool will likely have a less predictable tool life than a new one. The exact stresses it endured in its first life are unknown.
- Mitigation: Never put a freshly re-purposed tool into a critical, high-value job. Prove it out first. Use it on a less critical operation or a piece of scrap material. During the first run, listen carefully for any changes in sound and watch the chip formation. If you see chips becoming stringy or the color changing drastically, it's a sign the edge is failing, and you should stop and inspect the tool.
How Can You Quantify the ROI of a Finish Mill Re-purposing Program?
This re-purposing process takes time and effort. Without data, proving its value is difficult. A simple formula can calculate your exact return on investment and justify the program.
To calculate ROI, first find your net savings per tool: (Cost of a new roughing mill) - (Total re-purposing cost). Then, divide this net saving by the re-purposing cost and multiply by 100. This percentage clearly shows the financial return on your investment.

As a business owner or manager, you need to justify every process. "Feeling" like you're saving money isn't good enough. The good news is that calculating the Return on Investment (ROI) for a tool re-purposing program is very straightforward. I walk my clients through this simple calculation to show them the real, hard numbers.
Calculating Your Costs
First, you need to know the total cost to bring one tool back to life. Be honest and thorough here.
- Modification Cost: This is the price your regrinding and coating service charges you. Let's say this is $35.
- Internal Costs: Include your own labor for sorting, inspecting, and managing the tools, plus any shipping costs. Let's estimate this at $5 per tool.
- Total Re-purposing Cost: $35 + $5 = $40
Calculating Your Savings
This part is easy. What would it cost you to buy a new tool that can perform the same roughing operation? Look up the price for a comparable new roughing end mill from your supplier.
- Cost of New Roughing Tool: Let's assume a new, comparable tool costs $150.
The ROI Formula in Action
The formula for ROI is: *(Net Savings / Total Cost) 100**. Let's plug in our numbers.
- Calculate Net Savings: $150 (New Tool Cost) - $40 (Re-purposing Cost) = $110
- Calculate ROI: ($110 / $40) * 100 = 275%
| Calculation Step | Example Value | Description |
|---|---|---|
| A. Cost of New Rougher | $150 | The benchmark cost you are avoiding. |
| B. Re-purposing Cost | $40 | The total cost of the modification process. |
| C. Net Savings (A - B) | $110 | The direct dollar savings per tool. |
| *D. [ROI % ((C / B) 100)](https://arxiv.org/pdf/2406.01714)** | 275% | Your return for every dollar invested. |
An ROI of 275% is a powerful number. It means that for every dollar you spend on re-purposing a tool, you get $2.75 back in savings. This doesn't even include the softer benefits, like reducing your environmental footprint and lowering the amount of capital tied up in new tool inventory. When you present this data, it makes the value of the program crystal clear.
Conclusion
By strategically modifying worn finishers, you can create effective roughers, cutting costs and waste. This process transforms used tools into a valuable asset for your machine shop's efficiency.